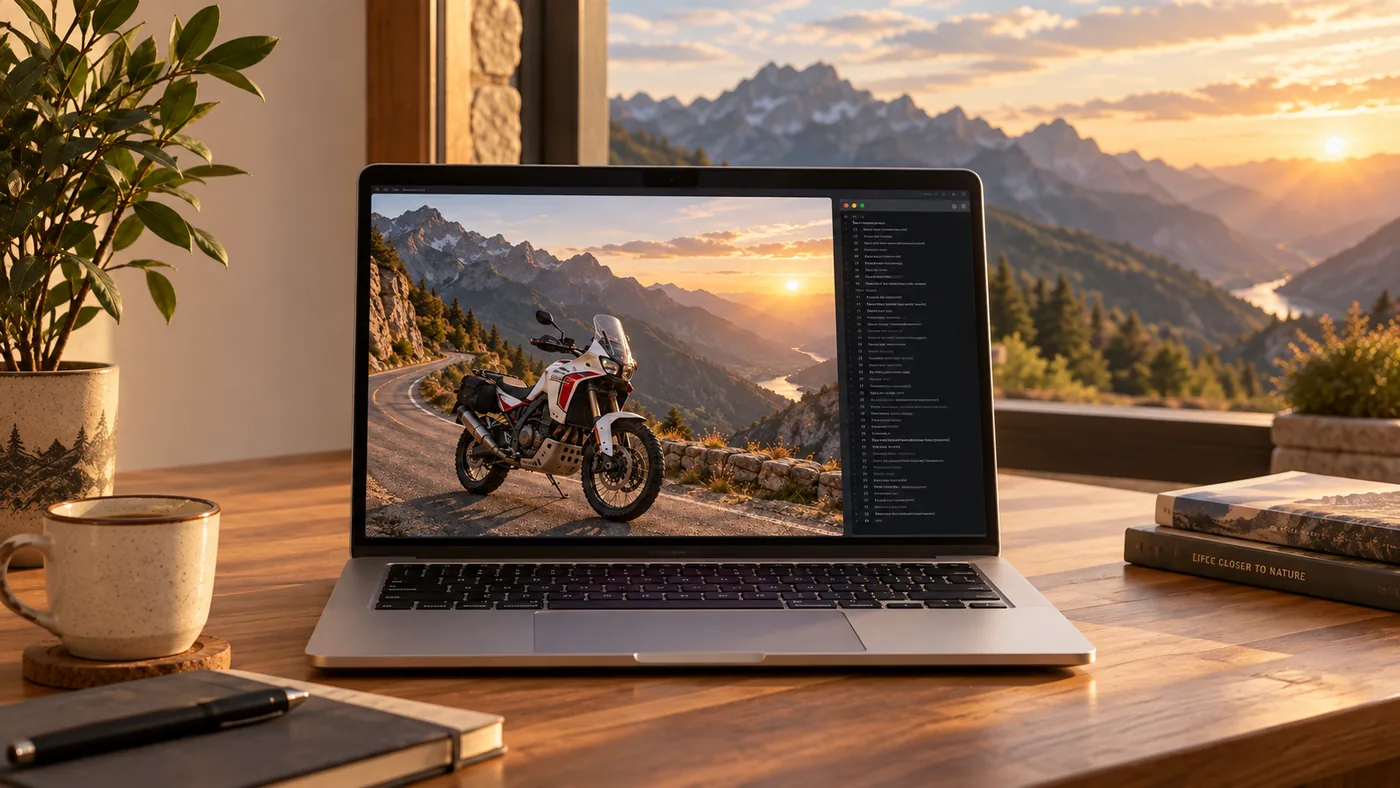
AI-generated editorial artwork inspired by this experiment, created with OpenAI image generation; not an output from the local Qwen test.
I've been experimenting quite a bit with running AI locally recently, so when Qwen Image 2.1 was released I wanted to see if I could get it running on my MacBook.
My MacBook has 36 GB of unified memory, which is decent for local AI, but not enough to comfortably throw every full-size image model at it.
So the question was really:
What's the simplest way to run Qwen Image 2.1 locally without needing a large NVIDIA GPU?
I used ChatGPT to help work through the options.
We looked at Python and Diffusers, MFLUX, ComfyUI and a few other approaches. In the end, the route that interested me most was stable-diffusion.cpp using quantised GGUF versions of the model.
The final setup looks something like this:
Qwen Image 2.1
        +
stable-diffusion.cpp
        +
GGUF quantised models
        +
Apple Metal
Why stable-diffusion.cpp?
Partly because I like simple local setups.
I didn't really want to run a big web interface, Docker stack or complicated Python environment just to generate an image.
Once stable-diffusion.cpp is built, I can simply run a command, give it a prompt and get an image back.
It also supports Apple Metal, which means it can use the GPU built into Apple Silicon Macs.
The other big advantage is GGUF support.
GGUF models can be quantised to reduce their size and memory requirements. For my first test I used the Q4 version of Qwen Image 2.1, which is much more manageable than loading the original model at full precision.
That makes this approach quite attractive on a MacBook.
Installing stable-diffusion.cpp
I keep most of my local AI experiments under:
~/AI
First I installed the Mac development tools:
xcode-select --install
With Homebrew installed, I also needed CMake, Git and the Hugging Face command-line tool:
brew install cmake git hf
Then I downloaded stable-diffusion.cpp:
mkdir -p ~/AI
cd ~/AI

git clone --recursive https://github.com/leejet/stable-diffusion.cpp
cd stable-diffusion.cpp
I built it with Metal enabled:
mkdir build
cd build

cmake .. -DSD_METAL=ON
cmake --build . --config Release -j
Then:
cd ..
The finished command-line program is:
build/bin/sd-cli
I tested it with:
./build/bin/sd-cli -h
Downloading Qwen Image 2.1
This was the part where ChatGPT was particularly useful, because Qwen Image 2.1 isn't just one file. The stable-diffusion.cpp Qwen Image 2.1 guide covers the supporting models and usage.
For normal text-to-image generation I needed:
Qwen Image 2.1 diffusion model
Qwen3-VL text encoder
Qwen Image 2.1 VAE
I created a folder for everything:
mkdir -p ~/AI/models/Qwen-Image-2.1
Main image model
I started with the Q4 GGUF version:
hf download leejet/Qwen-Image-2.1-GGUF \
  qwen_image_2.1-Q4_0.gguf \
  --local-dir "$HOME/AI/models/Qwen-Image-2.1"
This is the main image-generation model.
Qwen text model
Qwen Image 2.1 uses Qwen3-VL-8B to understand the prompt.
I downloaded the Q4 version:
hf download Qwen/Qwen3-VL-8B-Instruct-GGUF \
  Qwen3VL-8B-Instruct-Q4_K_M.gguf \
  --local-dir "$HOME/AI/models/Qwen-Image-2.1"
Qwen Image VAE
The model also needs its own VAE.
This one lives inside a subfolder in the Hugging Face repository, so the path is important:
hf download Comfy-Org/Qwen-Image-2.1 \
  vae/qwen_image_2.1_vae_bf16.safetensors \
  --local-dir "$HOME/AI/models/Qwen-Image-2.1"
After downloading everything, my directory looked like this:
~/AI/models/Qwen-Image-2.1/

├── qwen_image_2.1-Q4_0.gguf
├── Qwen3VL-8B-Instruct-Q4_K_M.gguf
└── vae/
    └── qwen_image_2.1_vae_bf16.safetensors
There is also an extra vision model available if I want to experiment with editing existing images later.
Generating my first image
Once all the models were in place, generating an image was fairly simple.
From:
~/AI/stable-diffusion.cpp
I ran:
./build/bin/sd-cli \
  --diffusion-model "$HOME/AI/models/Qwen-Image-2.1/qwen_image_2.1-Q4_0.gguf" \
  --vae "$HOME/AI/models/Qwen-Image-2.1/vae/qwen_image_2.1_vae_bf16.safetensors" \
  --llm "$HOME/AI/models/Qwen-Image-2.1/Qwen3VL-8B-Instruct-Q4_K_M.gguf" \
  -p "A Ducati DesertX Rally motorcycle on a mountain road in the Pyrenees at golden hour, realistic photography" \
  --width 1024 \
  --height 1024 \
  --cfg-scale 6.0 \
  --sampling-method euler \
  --seed 42 \
  -o qwen-test.png
That creates:
qwen-test.png
in the current directory.
So in my case the image ended up at:
~/AI/stable-diffusion.cpp/qwen-test.png
and I could open it with:
open qwen-test.png
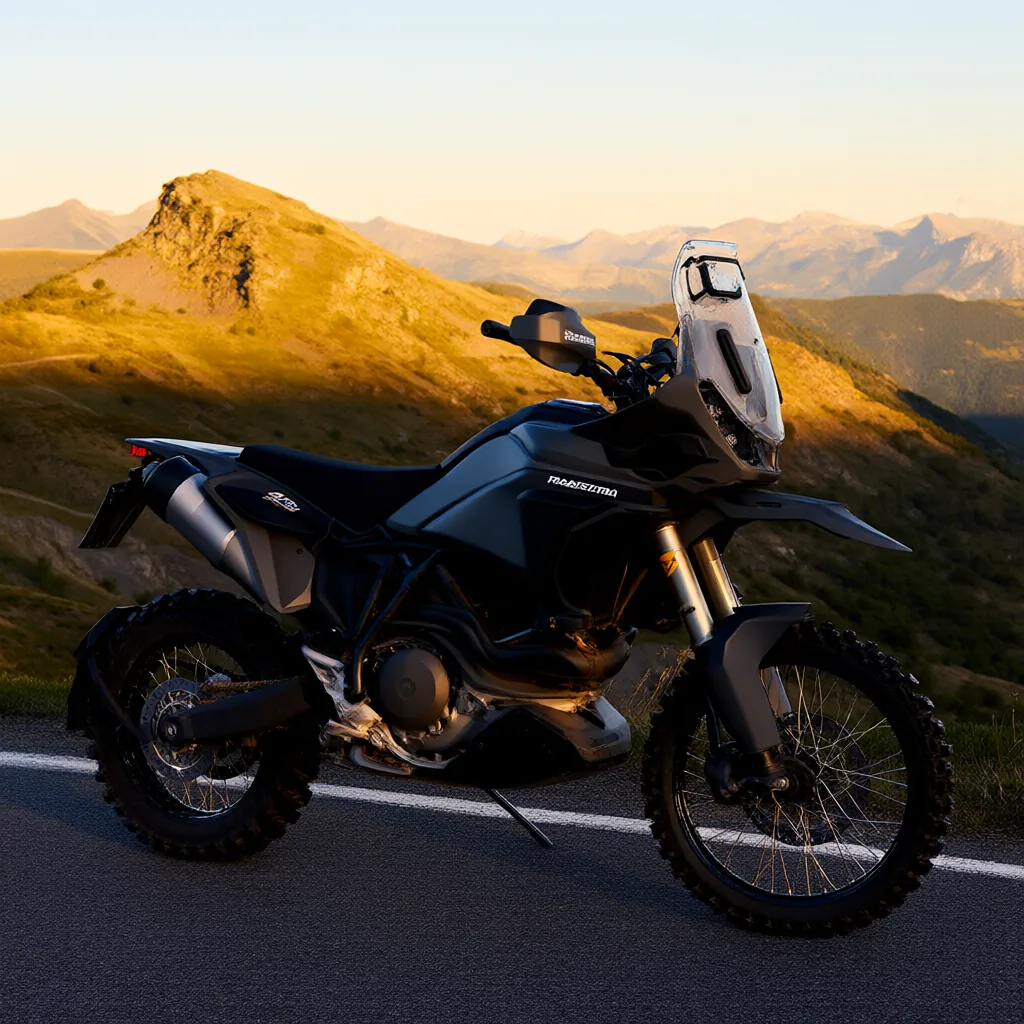
It's done a good job of producing an image, but the motorcycle isn't a Ducati DesertX Rally as specified in the prompt.
Why I like this setup
The thing I like most is that once everything is downloaded, the whole process runs locally.
There are no API calls.
There are no image generation charges.
My prompts and images stay on my own machine.
It also makes surprisingly good use of Apple Silicon.
The combination of unified memory, Metal acceleration and quantised GGUF models means a MacBook can now run image-generation models that would not have been particularly practical on this sort of machine only a short time ago.
I also like the simplicity of the command-line approach.
At its most basic, the setup is really just:
prompt
  ↓
sd-cli
  ↓
local models
  ↓
PNG image
That also gives me plenty of options later.
I could build a small Python interface, a Swift app or a simple web front end and use sd-cli underneath.
Using ChatGPT as part of the process
This experiment was also a good example of how I've started using ChatGPT when trying new technology.
I didn't begin with a fixed plan.
Instead, I used ChatGPT to:
- compare the different ways of running Qwen Image 2.1
- understand what GGUF models were
- decide which quantisation made sense for my MacBook
- work out which supporting models I needed
- troubleshoot incorrect model filenames and download paths
- generate the build and run commands
There were a few wrong turns along the way, particularly around filenames and Hugging Face paths, but that's part of experimenting with very new software.
By working through each problem one at a time, I ended up with a setup that works and is relatively simple.
What next?
I started with the Q4 model because it keeps memory use fairly low.
The next thing I want to try is comparing Q4, Q6 and Q8 to see whether the bigger models produce noticeably better images.
I'm also interested in trying Qwen Image 2.1's image-editing features.
For now, though, I'm quite impressed that I can run a modern image-generation model like Qwen Image 2.1 completely locally on my MacBook.
Useful links
Model filenames and command-line options can change, so check the linked repositories if a download or command fails.