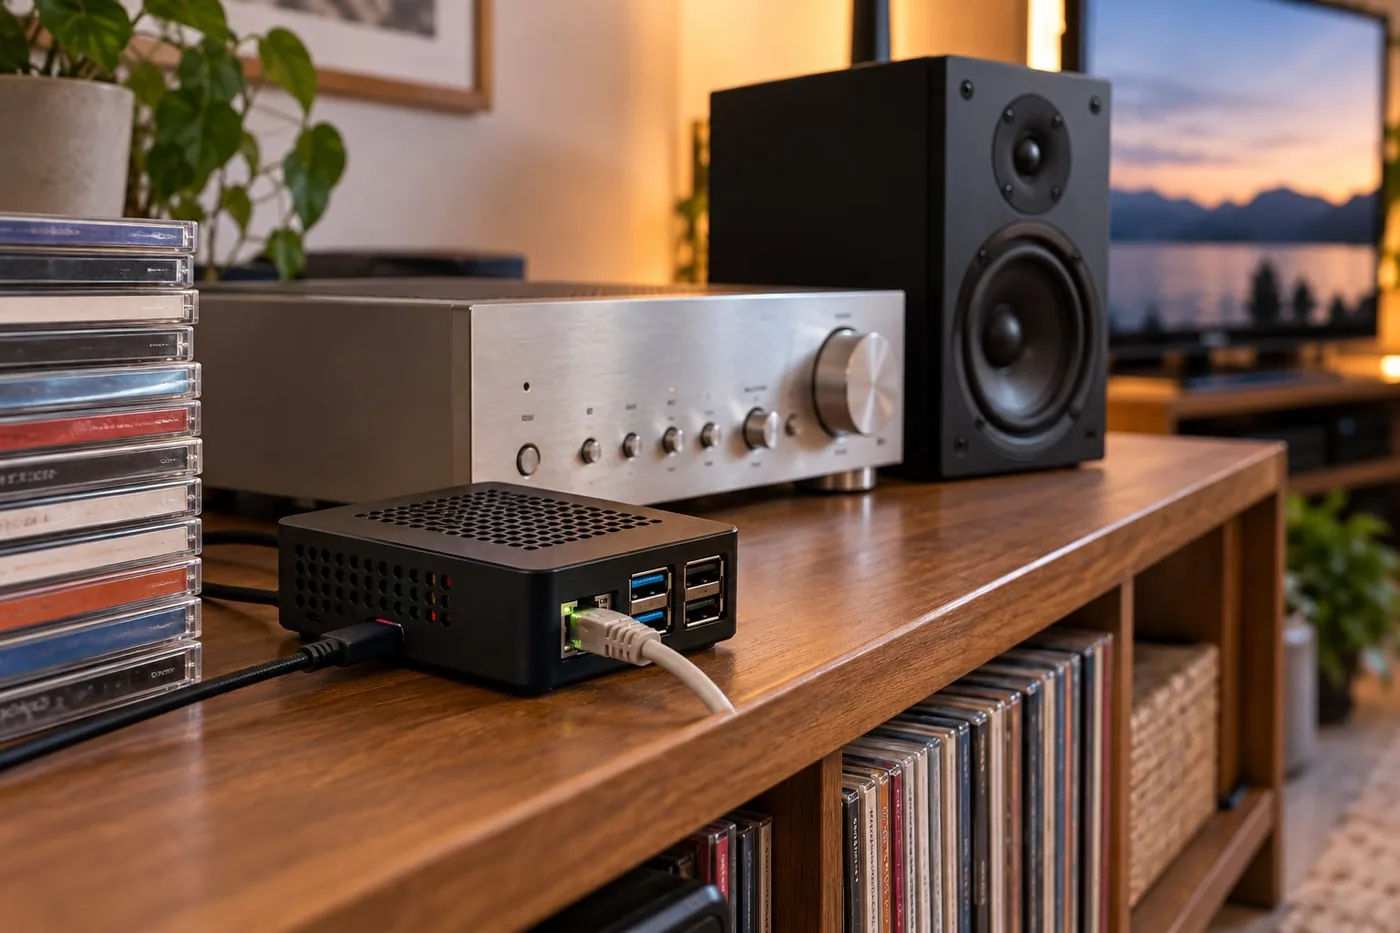
AI-generated illustration of a Raspberry Pi home media server.
How I built a low-power, always-on digital jukebox to manage my music collection and stream music and movies around my home.
After deciding to cancel Spotify and return to buying CDs and digital music, I started looking for a better way to organise and enjoy my music collection at home.
I already use my own Off-Grid Music Player app on my iPhone, which works well for listening to my music when I'm out and about. However, I wanted something more permanent for home use. A central music server that could store my master music collection, stream music to my Sonos speakers and Hi-Fi system, and allow anyone in the household to browse and play music from their own device.
Essentially, I wanted the convenience of a streaming service, but with my own music library at the heart of it.
During my research, I came across the Brennan digital jukebox systems. I was impressed by the concept of a self-contained music server that could store an entire CD collection and make it available throughout the house.
It looked like exactly what I wanted.
However, rather than buying a ready-made system, I wondered whether I could build something similar myself.
I already had a Windows PC with a Blu-ray drive that I could use to rip my CDs into lossless FLAC files. All I needed was a small, energy-efficient computer to store the music, organise the library and make it available over my home network.
That led me to the Raspberry Pi.
And while I was planning the music server, another thought occurred to me: why not use the same device to store and stream my collection of movies, family videos and GoPro footage to my Apple TV?
What started as a simple digital jukebox was turning into a complete home media server.
What I wanted from my media server
Before buying any hardware, I put together a list of requirements.
First, I wanted a small, quiet device that could run 24 hours a day with very little electricity consumption. It needed enough storage for a few hundred CDs ripped to FLAC, around 50 Blu-ray movies and a collection of home videos and GoPro footage.
I also wanted to be able to expand the storage as my collection grew.
Music requirements
- A single master library containing all my CDs and digital music.
- Lossless FLAC audio support.
- Artist, album and track information, including album artwork.
- A web interface or app for browsing and controlling music.
- Playback through my existing Sonos speakers and Hi-Fi.
- Compatibility with other UPnP/DLNA audio devices.
- Access for other members of the household from their own devices.
- The ability to create and manage playlists.
I wanted the Raspberry Pi to be the permanent home for my music collection.
My Off-Grid Music Player app would continue to be my preferred way of listening to music on my iPhone, particularly when travelling or away from home. The Raspberry Pi would become the master collection, from which I could copy music to my phone for offline listening.
Video requirements
- Stream movies to my Apple TV.
- Automatically organise movies with posters, descriptions and other information.
- Maintain separate libraries for movies, home videos and GoPro footage.
- Support high-quality video playback without unnecessary transcoding.
- Allow media to be copied easily from Windows or macOS.
Importantly, I wanted everything to work locally on my home network, without having to subscribe to a cloud-based media service.
Choosing the software
After researching the available options using Google and ChatGPT, I settled on two applications: Lyrion Music Server for music and Plex Media Server for video.
Lyrion Music Server
Lyrion Music Server, previously known as Logitech Media Server, is a free, open-source music server with a long history.
Originally developed for Logitech's Squeezebox players, it has evolved into a flexible music management system supporting a wide range of file formats and network audio players.
It provides features such as:
- A searchable library of artists, albums and tracks.
- Support for FLAC and other popular audio formats.
- Album artwork and music metadata.
- Playlist management.
- Browser-based music control.
- A plugin architecture for extending its capabilities.
Of particular interest was the third-party UPnP/DLNA Bridge plugin, which can allow Lyrion to control compatible network audio players, including Sonos devices.
This would give me a central interface for selecting music and controlling playback throughout the house.
Plex Media Server
For movies and videos, I chose Plex.
Plex organises media into libraries and automatically retrieves movie posters, descriptions and other information. It also provides an attractive interface for browsing and playing content.
There are alternatives, notably Jellyfin, but I preferred Plex for its Apple TV app and polished movie library interface.
My plan was to use Plex primarily for Direct Play.
Direct Play means Plex sends the original video file to the playback device without converting it into another format.
This is important because, although the Raspberry Pi 5 is capable of serving video files over a network, it isn't particularly well suited to demanding real-time video transcoding, especially with 4K material.
As long as my video files are compatible with the Apple TV, the Raspberry Pi should have little difficulty serving them.
Choosing the hardware
The Raspberry Pi 5 seemed ideally suited to this project.
It's small, relatively inexpensive, consumes little electricity and has enough processing power for running a music server and serving video files.
One particularly useful feature of the Raspberry Pi 5 is PCIe connectivity, allowing it to use fast NVMe SSD storage through a compatible adapter.
I wanted to avoid using a microSD card as the main storage device for an always-on server, so booting directly from an NVMe SSD was an important consideration.
My hardware list
| Component | Description |
|---|---|
| Raspberry Pi | Raspberry Pi 5, 8 GB |
| NVMe adapter | Geekworm X1004 PCIe to Dual M.2 NVMe |
| Storage | 2 TB M.2 NVMe SSD |
| Case | Geekworm Raspberry Pi 5 case |
| Cooling | Active cooler |
| Power | Official Raspberry Pi 27 W USB-C power supply |
| OS | Raspberry Pi OS Lite, 64-bit |
The Geekworm X1004 has capacity for two NVMe SSDs, making it possible to add another drive later, subject to its supported configurations.
I started with a single 2 TB SSD, which provides plenty of storage for my initial collection.
The 8 GB Raspberry Pi is probably more than I need for a basic music server, but it gives me headroom to run Plex and potentially other applications in the future.
Assembling the Raspberry Pi
The hardware assembly was straightforward, following the instructions supplied with the Geekworm components.
I installed Raspberry Pi OS Lite (64-bit), which is a minimal Linux operating system without a graphical desktop.
Since the Raspberry Pi would normally run without a keyboard, monitor or mouse, there was no need to install the full desktop version.
I also configured the Pi to boot directly from the NVMe SSD rather than a microSD card.
There are plenty of guides available for installing Raspberry Pi OS and configuring NVMe booting, so I won't cover those procedures in detail.
The official Raspberry Pi documentation is a good starting point.
Once the Pi was running successfully from the NVMe SSD and accessible over SSH, I was ready to configure the media server.
Step 1: Organising the storage
I wanted the storage layout to be simple and easy to manage.
Linux provides a useful location for server data under /srv, so I decided to use three main directories.
/srv/media
/srv/music
/srv/docker
The first would contain movies and videos, the second would contain my master music collection, and the third would hold the configuration files for the server applications.
Create the directories:
sudo mkdir -p /srv/media
sudo mkdir -p /srv/music
sudo mkdir -p /srv/docker
Next, change their ownership so my Linux user account can manage the files.
The examples use the username user1. If you're following this guide, replace it with your own username.
sudo chown -R user1:user1 /srv/media /srv/music /srv/docker
sudo chmod -R 775 /srv/media /srv/music
This gives me a straightforward storage layout that is independent of the applications that will use it.
Step 2: Sharing the storage over my home network
I wanted to be able to copy music and videos to the Raspberry Pi directly from my Windows PC and Mac.
For this, I decided to use Samba.
Samba provides SMB file sharing, allowing Linux directories to appear as network shares on Windows and macOS.
Once configured, adding music or video to the server would be as simple as copying files into a shared folder.
Install Samba
Open a terminal connected to the Raspberry Pi using SSH.
Install Samba:
sudo apt update
sudo apt install -y samba samba-common-bin smbclient cifs-utils
Enable and start the Samba service:
sudo systemctl enable --now smbd
Create a Samba user
Samba uses its own password database.
Add your existing Linux user. In my case:
sudo smbpasswd -a user1
You will be prompted to enter and confirm a password.
Enable the account:
sudo smbpasswd -e user1
Configure the network shares
Before modifying the Samba configuration, make a backup:
sudo cp /etc/samba/smb.conf /etc/samba/smb.conf.backup
Open the configuration file:
sudo nano /etc/samba/smb.conf
Scroll to the bottom and add:
[Media]
   path = /srv/media
   browseable = yes
   read only = no
   valid users = user1
   create mask = 0664
   directory mask = 0775

[Music]
   path = /srv/music
   browseable = yes
   read only = no
   valid users = user1
   create mask = 0664
   directory mask = 0775
This creates two network shares called Media and Music.
Both are accessible only to my authenticated Samba account.
These shares are intended for a trusted home network and should not be exposed directly to the internet.
Save the file with Ctrl+O, press Enter, then exit Nano with Ctrl+X.
Check the configuration
Run:
sudo testparm
If no configuration errors are reported, restart Samba:
sudo systemctl restart smbd
Check that it is running:
systemctl status smbd --no-pager
The service should report active (running).
Connect from Windows or Mac
Find the Raspberry Pi's IP address:
hostname -I
For example, the address might be 192.168.1.100.
From Windows, open File Explorer and enter:
\\192.168.1.100
You should see:
Media
Music
Opening a share will prompt for your Samba username and password.
On macOS, open Finder, select Go > Connect to Server, and enter:
smb://192.168.1.100
Once connected, I could browse the Raspberry Pi storage and copy files to it just like any other network drive.
I also recommend reserving an IP address for the Raspberry Pi in your router, so its address doesn't change after a reboot.
Step 3: Create the media folder structure
The next step was to organise the storage into separate folders for different types of media.
I created the following directories:
sudo mkdir -p /srv/media/movies
sudo mkdir -p /srv/media/home-videos
sudo mkdir -p /srv/media/gopro

sudo mkdir -p /srv/music/music
sudo mkdir -p /srv/music/playlists
Set the ownership:
sudo chown -R user1:user1 /srv/media /srv/music
The resulting structure looks like this:
/srv
├── media
│   ├── movies
│   ├── home-videos
│   └── gopro
│
└── music
    ├── music
    └── playlists
The music/music directory contains my master FLAC library.
The playlists folder stores playlists created or managed by Lyrion.
Although having /srv/music/music might look slightly unusual, it keeps the music files and playlists separate while making both accessible through one SMB share.
Step 4: Why I decided to use Docker
Rather than installing Plex and Lyrion directly onto Raspberry Pi OS, I decided to run them using Docker.
Docker allows software to run inside containers. Each container packages an application and most of the dependencies needed for it to operate.
This provides several advantages.
Simple installation: Docker downloads a prepared application image, reducing the need to install and configure lots of individual packages.
Independent applications: Plex and Lyrion run in separate containers, reducing the likelihood of their software dependencies interfering with each other.
Easy updates: Applications can usually be updated by downloading a newer container image and recreating the container.
Persistent settings: Application databases and configuration files can be stored outside the containers so they survive updates.
Easy expansion: If I want to experiment with additional services, I can add more containers without rebuilding the server.
Docker also supports Docker Compose, allowing multiple containers to be described in a single YAML configuration file.
I decided to use one Compose file to manage both Plex and Lyrion.
Step 5: Installing Docker
I chose to install Docker Engine from Docker's official package repository.
Since I'm using the 64-bit version of Raspberry Pi OS, the appropriate installation method uses Docker's Debian ARM64 packages.
First, update the package index and install the prerequisites:
sudo apt update
sudo apt install -y ca-certificates curl
Create the directory for Docker's signing key:
sudo install -m 0755 -d /etc/apt/keyrings
Download the signing key:
sudo curl -fsSL https://download.docker.com/linux/debian/gpg \
  -o /etc/apt/keyrings/docker.asc

sudo chmod a+r /etc/apt/keyrings/docker.asc
Add the Docker repository:
sudo tee /etc/apt/sources.list.d/docker.sources > /dev/null <<EOF
Types: deb
URIs: https://download.docker.com/linux/debian
Suites: $(. /etc/os-release && echo "$VERSION_CODENAME")
Components: stable
Architectures: $(dpkg --print-architecture)
Signed-By: /etc/apt/keyrings/docker.asc
EOF
Update the package index:
sudo apt update
Install Docker Engine and the Docker Compose plugin:
sudo apt install -y docker-ce docker-ce-cli containerd.io \
  docker-buildx-plugin docker-compose-plugin
These instructions apply to supported 64-bit Raspberry Pi OS releases. It's worth checking Docker's current documentation if your operating system version differs.
Test the installation
Run:
sudo docker run hello-world
Docker should download a test image, execute it and display a confirmation message.
Allow my user account to run Docker
By default, Docker commands require administrator privileges.
I added my Linux account to the Docker group:
sudo usermod -aG docker user1
Apply the group membership:
newgrp docker
Check the installation:
docker version
docker compose version
An important security consideration is that members of the Docker group effectively have root-level privileges on the server, so this should only be enabled for trusted users.
Step 6: Prepare the application configuration directories
I wanted to store application configuration and databases separately from the containers.
That way, if I update or recreate a container, I won't lose my settings.
Create the folders:
sudo mkdir -p /srv/docker/plex/config
sudo mkdir -p /srv/docker/plex/transcode
sudo mkdir -p /srv/docker/lyrion/config
Set the ownership:
sudo chown -R user1:user1 /srv/docker
The complete directory structure is now:
/srv
├── docker
│   ├── plex
│   │   ├── config
│   │   └── transcode
│   └── lyrion
│       └── config
│
├── media
│   ├── movies
│   ├── home-videos
│   └── gopro
│
└── music
    ├── music
    └── playlists
Step 7: Creating the Docker Compose file
Docker Compose uses a YAML configuration file to describe the applications that Docker should run.
Create a directory to store this file:
mkdir -p ~/docker
cd ~/docker
Create the Compose file:
nano compose.yaml
Add the following configuration:
services:

  plex:
    image: lscr.io/linuxserver/plex:latest
    container_name: plex
    network_mode: host
    environment:
      - PUID=1000
      - PGID=1000
      - TZ=Europe/London
      - VERSION=docker
    volumes:
      - /srv/docker/plex/config:/config
      - /srv/docker/plex/transcode:/transcode
      - /srv/media:/media:ro
      - /srv/music/music:/music:ro
    restart: unless-stopped

  lyrion:
    image: lmscommunity/lyrionmusicserver:stable
    container_name: lyrion
    hostname: lyrion
    network_mode: host
    environment:
      - PUID=1000
      - PGID=1000
      - TZ=Europe/London
    volumes:
      - /srv/docker/lyrion/config:/config:rw
      - /srv/music/music:/music:ro
      - /srv/music/playlists:/playlist:rw
    restart: unless-stopped
Save the file.
Understanding the configuration
There are a few important settings worth explaining.
The image setting tells Docker which application to download.
The container_name gives each application a recognisable name.
The environment section contains configuration values. PUID and PGID specify the Linux user and group identifiers, while TZ sets the local time zone.
The example uses 1000 for both identifiers, which is common for the first regular Linux user. Check the correct values for your account using:
id user1
Update the Compose file if your IDs differ.
The volumes section maps directories from the Raspberry Pi into the containers.
For example:
/srv/media:/media:ro
makes /srv/media available inside the Plex container as /media.
The ro option means read-only, so Plex can access the files but cannot modify or delete them.
I used read-only access for the music and video libraries wherever possible, helping protect the original media files.
The restart: unless-stopped setting means Docker will automatically restart the containers after a system reboot unless they have been deliberately stopped.
Why use host networking?
Both containers use:
network_mode: host
This allows them to communicate directly through the Raspberry Pi's network interface.
Host networking is useful for media applications that rely on discovering other devices on the local network.
In particular, it can help with UPnP/DLNA discovery for Lyrion and local network discovery for Plex.
It also means the applications use ports directly on the Raspberry Pi, so those ports must not already be occupied by other services.
Validate the configuration
Before starting the containers, check the YAML configuration:
docker compose config
If no errors are reported, the configuration is ready.
Step 8: Download and start the media servers
From the directory containing compose.yaml, download the images:
cd ~/docker
docker compose pull
Start both containers:
docker compose up -d
The -d option starts the applications in the background.
Check their status:
docker compose ps
You should see something similar to:
NAME       STATUS
plex       Up ...
lyrion     Up ...
At this point, both applications should be running on the Raspberry Pi.
The next step is to configure their media libraries.
Step 9: Configuring Lyrion Music Server
Lyrion provides a web interface that can be accessed from any computer, tablet or smartphone on my home network.
Open a browser and enter the Raspberry Pi's IP address followed by port 9000.
For example:
http://192.168.1.100:9000
During the initial configuration, Lyrion asks for the location of the music library.
Enter:
/music
For playlists, use:
/playlist
These paths refer to the directories inside the Docker container, not the actual paths on the Raspberry Pi.
Once configured, Lyrion can scan the collection and build its library of artists, albums and tracks.
It uses the metadata stored within the audio files to organise the collection.
This makes correct tagging particularly important. I try to ensure all my FLAC files contain the appropriate artist, album, track names, track numbers and artwork before adding them to the master collection.
Making Lyrion work with Sonos
One of the main reasons I chose Lyrion was its ability to work with different types of network audio players.
My house already has Sonos speakers, so I wanted to make use of those rather than buying additional hardware.
Lyrion has a third-party UPnP/DLNA Bridge plugin that can discover and control compatible network audio devices.
From the Lyrion web interface, open the server settings and locate the Plugins section.
Find the UPnP/DLNA Bridge plugin, enable it and apply the changes.
Once installed, configure and start the bridge using the executable appropriate for the server's architecture.
The bridge attempts to discover compatible devices on the network, which can then appear as players in Lyrion.
The precise setup and compatibility can vary between Sonos products and other UPnP/DLNA devices, so some experimentation may be needed.
The bridge is particularly useful because it allows Lyrion to act as more than just a library of music files. It can become a central controller for playback around the home.
This is the functionality I originally admired in the Brennan digital jukebox.
A shared music library for the whole house
This is where the Raspberry Pi fits into my overall music setup.
The server holds my master collection of CDs and digital downloads.
Anyone in the household can access the Lyrion interface from a browser or suitable controller app and browse the library.
Music can be selected and played through compatible speakers around the house, without everyone having to maintain separate copies of the same albums.
And because the music files are stored centrally, adding a new CD is straightforward: rip it on the PC, copy it to the Raspberry Pi and rescan the library.
My iPhone's Off-Grid Music Player remains my portable music solution, while Lyrion becomes the shared home music system.
Step 10: Configuring Plex Media Server
With the music server installed, it was time to configure Plex for movies and video.
Open a browser and enter:
http://192.168.1.100:32400/web
Replace the example IP address with the actual Raspberry Pi address.
Plex provides a setup process for configuring and claiming the server. A Plex account may be required for this process.
I then created separate media libraries.
| Library | Folder |
|---|---|
| Movies | /media/movies |
| Home Videos | /media/home-videos |
| GoPro | /media/gopro |
| Music (optional) | /music |
For my Movies library, I selected the appropriate movie library type, allowing Plex to retrieve posters, film descriptions and other metadata automatically.
For home videos and GoPro footage, I wanted to preserve my own directory structure rather than having Plex identify them as commercial films, so I configured those libraries accordingly.
I also added my music collection as an optional Plex music library, although Lyrion remains my primary music server.
Watching movies on Apple TV
I installed the Plex app on my Apple TV and connected it to the Raspberry Pi server.
The app provides an interface similar to a commercial streaming service, with posters, descriptions and individual movie pages.
However, everything is streamed from my own collection stored on the Raspberry Pi.
My preference is to use Direct Play wherever possible.
This avoids asking the Raspberry Pi to convert video in real time. Instead, the original video and audio streams are sent directly to the Apple TV for decoding.
Direct Play depends on the video codec, audio format, subtitles and playback capabilities of the Apple TV and Plex app.
Some files may require transcoding, which can be demanding for a Raspberry Pi, particularly with high-resolution video.
Choosing suitable formats when encoding the original discs can help minimise this.
Step 11: Adding music and videos
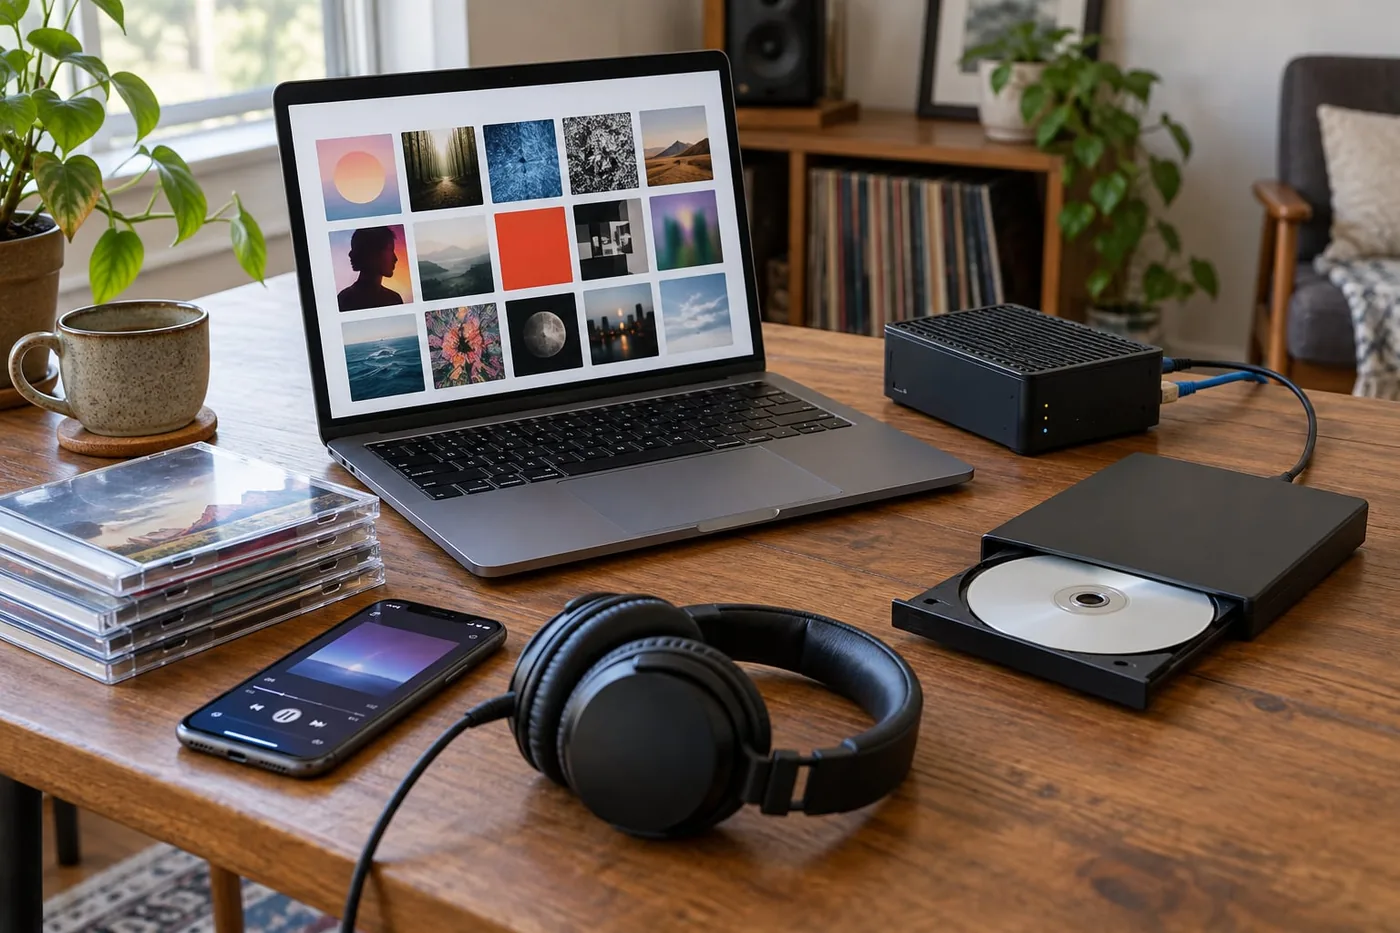
AI-generated illustration of a home music library workflow.
Now that the server applications were configured, I could start copying my media collection across.
Because Samba was already running, I could transfer files directly from my Windows PC or Mac.
Creating my FLAC music library
I use my PC and optical drive to rip CDs into FLAC format.
FLAC is a lossless audio format that preserves the original audio information from a CD, unlike lossy formats such as MP3.
It also supports metadata, making it well suited to organising a large digital music library.
My folders are organised by artist and album.
For example:
Music
└── music
    ├── Dire Straits
    │   └── Brothers in Arms
    │       ├── 01 - So Far Away.flac
    │       ├── 02 - Money for Nothing.flac
    │       └── cover.jpg
    │
    └── Pink Floyd
        └── The Dark Side of the Moon
            ├── 01 - Speak to Me.flac
            ├── 02 - Breathe.flac
            └── cover.jpg
The actual audio file tags, rather than the folder names alone, are what Lyrion uses to organise artists, albums and tracks.
Once I've ripped and tagged a CD, I copy it into the Music network share and run a library scan in Lyrion.
The album then becomes available through the server.
My master collection and Off-Grid Music Player
Having a central music library also simplifies managing the music on my iPhone.
Rather than treating the phone as the main storage location, I keep the master copies of my music on the Raspberry Pi.
When I want music available offline, I can copy selected albums or tracks from that collection to my phone and import them into Off-Grid Music Player.
This means I can keep the full collection at home while carrying only the music I want on my iPhone.
The two systems complement each other: Off-Grid Music Player handles portable offline listening, and Lyrion provides shared music playback at home.
Adding movies
I also use my PC's Blu-ray drive to create digital versions of my movie collection for personal playback, subject to applicable copyright laws.
The resulting files are stored in the Movies share.
I use a consistent naming convention to help Plex identify films correctly.
For example:
Media
└── movies
    ├── The Matrix (1999)
    │   └── The Matrix (1999).mkv
    │
    └── Jurassic Park (1993)
        └── Jurassic Park (1993).mkv
Including the movie title and release year makes it easier for Plex to retrieve the correct artwork and information.
Where necessary, I can use HandBrake to convert video files into formats more suitable for Apple TV playback.
I also pay attention to audio tracks and subtitles, particularly films that contain forced subtitles for dialogue in another language.
Home and GoPro videos
My other videos are kept in separate libraries.
For example:
Media
├── home-videos
│   ├── Holidays
│   └── Family Events
│
└── gopro
    ├── Motorcycle Trips
    └── Track Days
Keeping these separate from commercial movies makes them much easier to find.
It also gives me one central location for videos that would otherwise be scattered across different computers and external drives.
Step 12: Updating the server
Another reason for choosing Docker was to make ongoing maintenance straightforward.
To update Plex and Lyrion, I open an SSH session and run:
cd ~/docker
docker compose pull
docker compose up -d
Docker downloads any updated images and recreates the containers as required.
Because the configuration data is stored under /srv/docker, my application settings and databases are retained.
Once everything is working, unused images can optionally be removed:
docker image prune
To check the container status:
docker compose ps
If something isn't working, I can inspect the logs.
For Plex:
docker logs --tail 100 plex
For Lyrion:
docker logs --tail 100 lyrion
To follow the logs as new messages appear:
docker logs -f plex
Pressing Ctrl+C stops displaying the log without stopping the container.
I also periodically update Raspberry Pi OS and back up the important application configuration directories.
Although I still have the original CDs and Blu-rays, recreating all the digital files would take a considerable amount of time, so a separate copy of the collection is worth considering.
The finished media server
What I like most about this project is that I've ended up with a small, always-on computer that quietly performs several useful jobs.
For music, the Raspberry Pi acts as my central, master library of CDs and digital downloads.
Lyrion provides a way to browse the collection, organise playlists and play music through compatible speakers around the house.
Other members of the household can use the system without needing to maintain their own music collections.
Meanwhile, my Off-Grid Music Player app continues to provide offline access to music on my iPhone when I'm away from home.
For video, Plex provides a familiar streaming-style interface for my movies, family recordings and GoPro footage.
Everything is stored locally on the NVMe SSD, and I can add new media simply by copying files to the network shares.
I also like the flexibility of the setup.
If I need more storage in the future, the NVMe adapter gives me an expansion option. And because the applications run in Docker, I can experiment with additional services without having to rebuild the entire server.
Was it worth building?
For me, absolutely.
There are commercial products that provide similar functionality without the effort of building and configuring a server. The Brennan digital jukebox is a good example of a ready-made solution.
However, I enjoyed researching the hardware, choosing the software and learning how to configure everything.
More importantly, the finished system does exactly what I wanted.
It gives me a central collection of music that I own and control, makes that music available throughout my home, and provides an easy way for everyone in the household to enjoy it.
It also complements my Off-Grid Music Player app, giving me a practical combination of home music streaming and personal offline listening.
And as a bonus, the same Raspberry Pi now provides a home for my movie collection and videos.
What started as an idea to replace part of the convenience I'd lost by cancelling Spotify has become something considerably more useful.
There's something satisfying about having my own digital jukebox, containing music I've collected over the years, sitting quietly in the house and ready to play whenever I want.
No music streaming subscription required.
Useful links
- Off-Grid Music Player
- Raspberry Pi
- Raspberry Pi documentation
- Docker Engine installation
- Lyrion Music Server
- Lyrion Docker image
- Plex Media Server
- LinuxServer Plex documentation
This guide describes the configuration used for my home media server. Software versions and installation procedures can change, so it's worth checking the relevant official documentation before starting your own build.