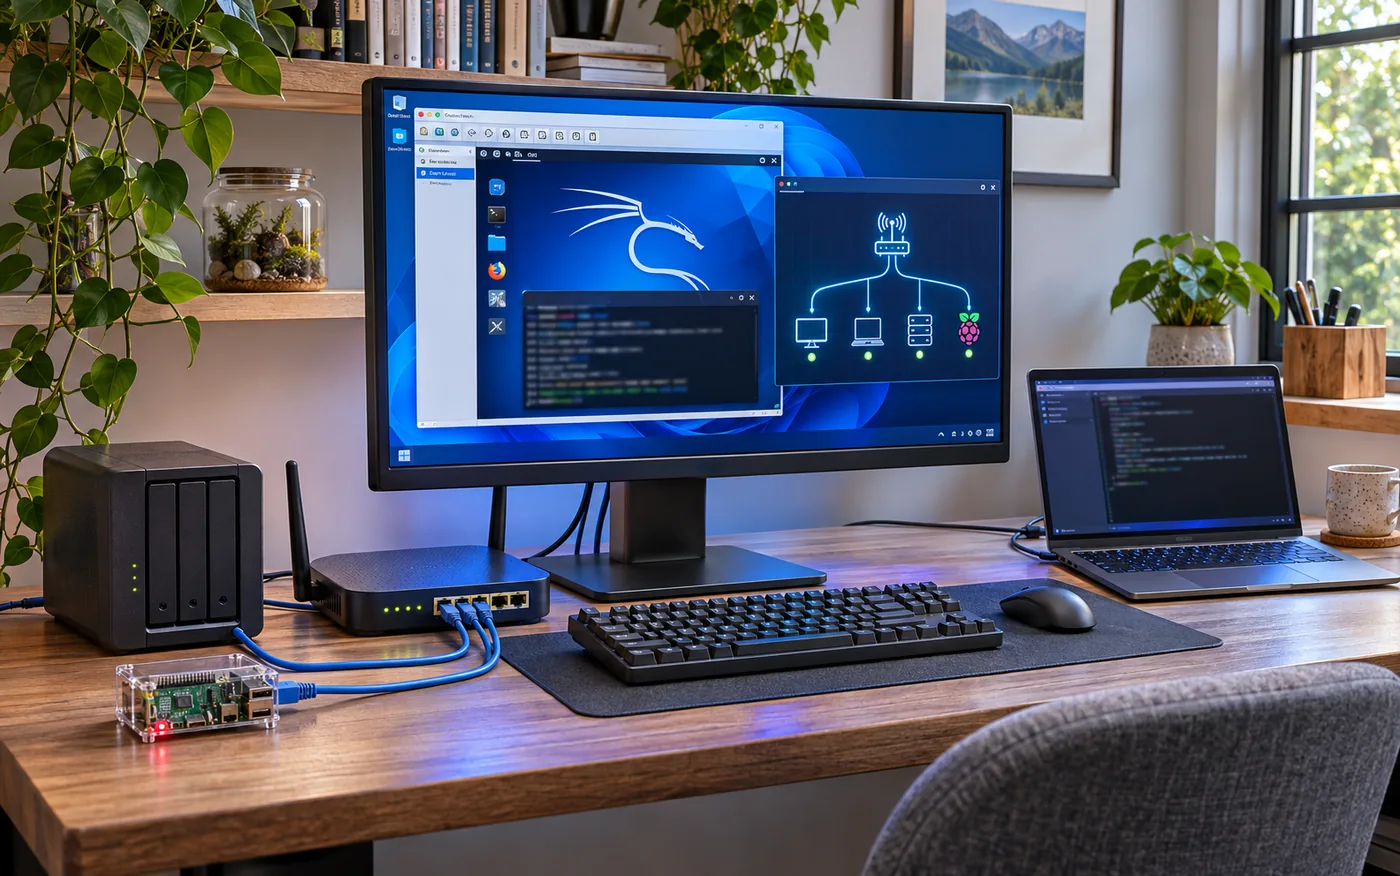
AI-generated editorial illustration of a home cybersecurity lab.
An introduction to Kali Linux, ethical hacking and setting up a security testing environment using VMware Workstation.
Like many people interested in computers and technology, I've accumulated quite a collection of devices on my home network. There are Windows and Mac computers, Raspberry Pis, a NAS, media servers, smart TVs and various other network-connected devices.
Most of these devices run services that communicate across the network, but how much do I actually know about what's running, which ports are open and whether everything is properly secured?
I decided to find out by building a small cybersecurity testing lab using Kali Linux, running as a virtual machine on my Windows PC.
In this first article, I'll explain what Kali Linux is, introduce some of its security testing tools and walk through installing and securing it using VMware Workstation. We'll finish with a simple network scan to see what devices are connected.
What is Kali Linux?
Security testing, penetration testing and digital forensics
Kali Linux is a free, open-source Linux distribution designed specifically for cybersecurity testing and research.
It's based on Debian Linux but, unlike a conventional desktop operating system, it comes with a large collection of specialist security tools.
These tools can be used to discover devices on networks, examine running services, analyse network traffic, investigate security vulnerabilities and assess the security of computers and applications.
Kali Linux was first released in March 2013 as the successor to BackTrack Linux, another well-known security testing distribution.
It's developed and maintained by the Kali Linux team at OffSec (formerly Offensive Security), a cybersecurity training and certification company.
OffSec provides professional security training, including well-known penetration testing qualifications, and supports the development of Kali as an open-source project.
Kali is available for a wide range of platforms, including conventional PCs, virtual machines, ARM devices such as the Raspberry Pi, cloud platforms and Windows Subsystem for Linux (WSL).
Official website: kali.org
Who uses Kali Linux?
Although Kali Linux is often associated with hackers, it's used extensively by legitimate cybersecurity professionals.
Typical users include:
- Penetration testers: Security professionals employed to identify weaknesses in computer systems, networks and applications.
- Security researchers: People investigating vulnerabilities, software behaviour and potential security threats.
- Network administrators: IT professionals auditing their networks, services and security configurations.
- Digital forensic investigators: Specialists examining computer systems and digital evidence following security incidents.
- Cybersecurity students and enthusiasts: People learning practical security techniques using their own equipment or dedicated training environments.
Kali is particularly useful because it brings many security tools together in a single operating system, avoiding the need to install and configure everything individually.
It's worth pointing out that Kali isn't designed to be a general-purpose replacement for Windows, macOS or a conventional Linux desktop. Its primary purpose is security testing.
What is ethical hacking?
The term hacking is often associated with illegal activity, but many of the techniques used by attackers are also used by security professionals to protect systems.
This is commonly referred to as ethical hacking.
An ethical hacker examines systems with the owner's permission, looking for weaknesses before malicious attackers can exploit them.
For example, a penetration tester might be asked to assess a company's network to determine whether:
- Computers or servers expose unnecessary services.
- Network devices still use insecure configurations.
- Software contains known vulnerabilities.
- User accounts have weak authentication.
- Sensitive resources are accessible without appropriate permissions.
- Security controls can be bypassed.
The important distinction is authorisation. Ethical hackers have permission to test specific systems, work within an agreed scope and report their findings so that problems can be corrected.
For my project, I'll be using Kali Linux exclusively to investigate and improve the security of my own home network.
Some of Kali Linux's most useful security tools
Kali contains hundreds of security utilities covering everything from basic network discovery to advanced penetration testing and digital forensics.
Here are some of the best-known tools.
| Tool | What it does |
|---|---|
| Nmap | Discovers network devices, open ports and running services |
| Wireshark | Captures and analyses network traffic |
| Metasploit Framework | Tests and validates security vulnerabilities |
| Burp Suite | Analyses and tests web application security |
| Aircrack-ng | Audits wireless network security |
| John the Ripper | Audits password strength using authorised password hashes |
| Hydra | Tests authentication security across supported network services |
| SQLmap | Tests web applications for SQL injection vulnerabilities |
| NetExec | Assesses security across various network protocols |
| Responder | Tests weaknesses associated with network name resolution and authentication |
These tools have very different capabilities, and some can be intrusive or disruptive if used incorrectly.
For my initial home network assessment, I'll concentrate on Nmap, one of the most useful tools for discovering network devices and understanding which services they're running.
Later, I may explore Wireshark for analysing network traffic and other tools for more detailed security assessments.
Installing Kali Linux on VMware Workstation
I wanted a dedicated environment for security testing without modifying my main Windows installation.
Running Kali Linux inside a virtual machine seemed the ideal solution.
A virtual machine behaves like a separate computer, with its own operating system, network configuration and storage, but runs within software on the host computer.
I chose VMware Workstation on my Windows PC, although Kali also supports other virtualisation platforms.
Using a VM offers several advantages:
- Kali runs independently of Windows.
- I can allocate CPU, memory and storage as required.
- I can access Kali remotely from my Mac.
- I can take snapshots before experimenting.
- If something goes wrong, I can restore the VM to an earlier state.
1. Download Kali Linux
The simplest way to get started is with Kali's prebuilt VMware virtual machine image.
Download it from the official Kali website:
Kali Linux prebuilt virtual machines
Choose the VMware image for your computer's architecture and verify its checksum against the value published on the Kali website.
Extract the downloaded archive, then open the included VMware virtual machine configuration file (.vmx) in VMware Workstation.
This avoids having to install Kali from scratch using an ISO image.
The prebuilt VMware virtual machine came with the following default settings. For my setup, I increased the memory and switched the network adapter to bridged mode:
| Resource | Default setting | My setting |
|---|---|---|
| Memory | 2 GB | 4 GB |
| Processors | 4 | 4 |
| Hard disk | 80.1 GB | 80.1 GB |
| Network | NAT | Bridged |
These resources are more than adequate for basic networking tools such as Nmap.
2. Configure bridged networking
One important configuration decision is how the virtual machine connects to the network.
VMware supports several networking modes, including NAT, host-only and bridged networking.
I chose bridged networking, which allows Kali to appear as a separate computer on my home network.
In VMware Workstation, open the virtual machine settings, select Network Adapter and choose Bridged.
This means Kali receives its own IP address from my home router, just like a physical computer.
For example:
Home Router       192.168.1.1
Windows PC        192.168.1.10
Kali Linux VM     192.168.1.20
Raspberry Pi      192.168.1.30
NAS               192.168.1.40
These are example addresses. Your own network may use a different subnet.
Bridged networking is particularly useful for my project because Kali needs to communicate directly with other devices on the network.
It also means that other devices can communicate with Kali, so securing the VM is important.
For more isolated experiments, VMware's host-only or dedicated virtual networks offer safer alternatives.
3. Reserve Kali's IP address
I wanted Kali to retain the same IP address whenever I started it.
Rather than setting a static IP address in Linux, I configured a DHCP reservation in my home router.
First, I checked Kali's network configuration:
ip -br addr
To identify the network interface's MAC address:
ip link
I then opened my router's DHCP settings and reserved an IP address for the Kali virtual machine's MAC address.
In these examples, I'll use:
192.168.1.20
This makes remote connections more predictable and helps when configuring firewall rules.
4. Update Kali Linux
The prebuilt Kali VMware image uses the initial credentials:
Username: kali
Password: kali
These should be changed immediately, particularly when using bridged networking.
After logging in, change the account password:
passwd
Then update Kali:
sudo apt update
sudo apt full-upgrade -y
Reboot if necessary:
sudo reboot
Kali is a rolling-release distribution, meaning packages receive updates continuously rather than only through major operating system releases.
Keeping it updated is particularly important for a computer dedicated to security testing.
5. Give Kali a hostname
I wanted to access Kali from my Mac using a convenient hostname rather than typing its IP address.
First, set the hostname:
sudo hostnamectl set-hostname kali
Check it:
hostnamectl
Next, install Avahi:
sudo apt install avahi-daemon
Avahi provides multicast DNS (mDNS), allowing compatible devices on the local network to discover Kali using the name:
kali.local
Enable and start Avahi:
sudo systemctl enable --now avahi-daemon
Check it's running:
sudo systemctl status avahi-daemon
From my Mac, I can now test name resolution:
ping kali.local
Assuming both machines are on the same local network and multicast traffic is permitted, the hostname should resolve to Kali's IP address.
This is especially convenient when working between macOS and Linux.
6. Enable SSH for remote access
Although Kali has a full graphical desktop, I prefer to carry out many tasks from a terminal on my Mac.
SSH allows me to log in securely and run commands remotely.
Install OpenSSH Server:
sudo apt install openssh-server
Enable and start the service:
sudo systemctl enable --now ssh
Check that it's running:
sudo systemctl status ssh
I can now connect from my Mac:
ssh kali@kali.local
Or from Windows PowerShell:
ssh kali@192.168.1.20
Enter the password set earlier for the kali account when prompted.
Optional: SSH key authentication
SSH also supports key authentication, which is recommended for stronger security and can be configured later if required.
For now, I'll use password authentication to keep this initial home lab setup simple. I'll use a strong, unique password and restrict SSH access to my home network with the firewall rules below.
7. Configure the firewall
Because Kali is directly connected to my home network, I want to restrict incoming connections.
I'll use UFW, a relatively simple interface for managing Linux firewall rules.
Install it:
sudo apt install ufw
Configure the default policies:
sudo ufw default deny incoming
sudo ufw default allow outgoing
Allow SSH connections from my local network:
sudo ufw allow from 192.168.1.0/24 to any port 22 proto tcp
If necessary, allow mDNS traffic from the local network:
sudo ufw allow from 192.168.1.0/24 to any port 5353 proto udp
Replace 192.168.1.0/24 with your actual network subnet.
For stronger protection, SSH access could be limited to specific trusted computers instead of the whole home network.
Enable the firewall:
sudo ufw enable
Check the rules:
sudo ufw status verbose
My Kali VM now blocks unsolicited incoming connections except those permitted by the firewall.
8. Create a VMware snapshot
Before moving on to security testing, I recommend creating a VMware snapshot.
In VMware Workstation, open the snapshot manager and create a snapshot named something like:
Kali - Clean Secured Installation
This provides a convenient restore point if something goes wrong during future experiments.
At this point, the VM is installed, updated, accessible over SSH and configured with basic network security.
Trying Our First Network Scan
With Kali configured, it's time to try one of its most useful tools: Nmap.
Nmap, short for Network Mapper, is an open-source network discovery and security auditing utility.
It can identify devices, discover open ports and examine running services.
For now, I'll demonstrate a basic network discovery scan without attempting to probe services or test vulnerabilities.
Identify the local network
First, I need to establish the IP address range used by my home network.
Run:
ip route
Example output:
default via 192.168.1.1 dev eth0
192.168.1.0/24 dev eth0
This tells me that my example home network uses the subnet:
192.168.1.0/24
Run a discovery scan
Using Nmap, I can ask Kali to discover devices on this subnet:
sudo nmap -sn 192.168.1.0/24
The -sn option performs host discovery without scanning ports.
On a local network, Nmap can use ARP requests to identify connected devices.
Here's an example of what the results might look like:
Starting Nmap

Nmap scan report for router.local (192.168.1.1)
Host is up.

Nmap scan report for windows-pc (192.168.1.10)
Host is up.

Nmap scan report for kali.local (192.168.1.20)
Host is up.

Nmap scan report for raspberrypi.local (192.168.1.30)
Host is up.

Nmap scan report for nas.local (192.168.1.40)
Host is up.

Nmap done: 256 IP addresses scanned
5 hosts up
This is illustrative output, not the results of an actual scan.
Even this simple command provides a useful starting point.
Nmap has identified five active devices, including the router, Windows PC, Kali VM, Raspberry Pi and NAS.
Some devices may not respond if they're asleep, isolated on another network segment or configured to ignore discovery traffic.
We also don't yet know which applications and services these devices are running.
That's where things start to get interesting.
Save the results
Nmap can save scan results to a file for later analysis.
For example:
mkdir -p ~/network-audit
sudo nmap -sn 192.168.1.0/24 \
  -oA ~/network-audit/discovery
This creates three files:
discovery.nmap
discovery.xml
discovery.gnmap
The XML file is particularly useful because it contains structured data that can be processed by other software.
Only scan networks and devices that you own or have permission to assess. Even basic discovery traffic can occasionally cause problems for older or poorly designed network devices.
Conclusion
Kali Linux provides an accessible way to explore cybersecurity, ethical hacking and network security testing.
Although many of its tools are designed for professional penetration testers, there's plenty of value for anyone interested in understanding how their own computers and networks work.
Running Kali inside VMware Workstation makes it easy to experiment without dedicating a separate physical computer to the task.
With SSH, a firewall and a VMware snapshot configured, I now have a dedicated security testing environment ready for further investigation.
And with just one Nmap command, I've already started discovering what's connected to my network.
In the next post, I'll put Kali to work and see what it can tell me about the security of my home network.